Creating your First Survey
PollPe makes it easy to build your first survey in just a few steps. This guide walks you through everything from creating a project to publishing your survey.
Step 1: Create a Project
To begin, create a Project, which acts as a folder for organizing your surveys. You can group multiple surveys by campaign, department, or purpose.
- From the dashboard, click Create Project
- Give your project a name
- Once created, you’ll be taken to the project view
Step 2: Add Your First Survey
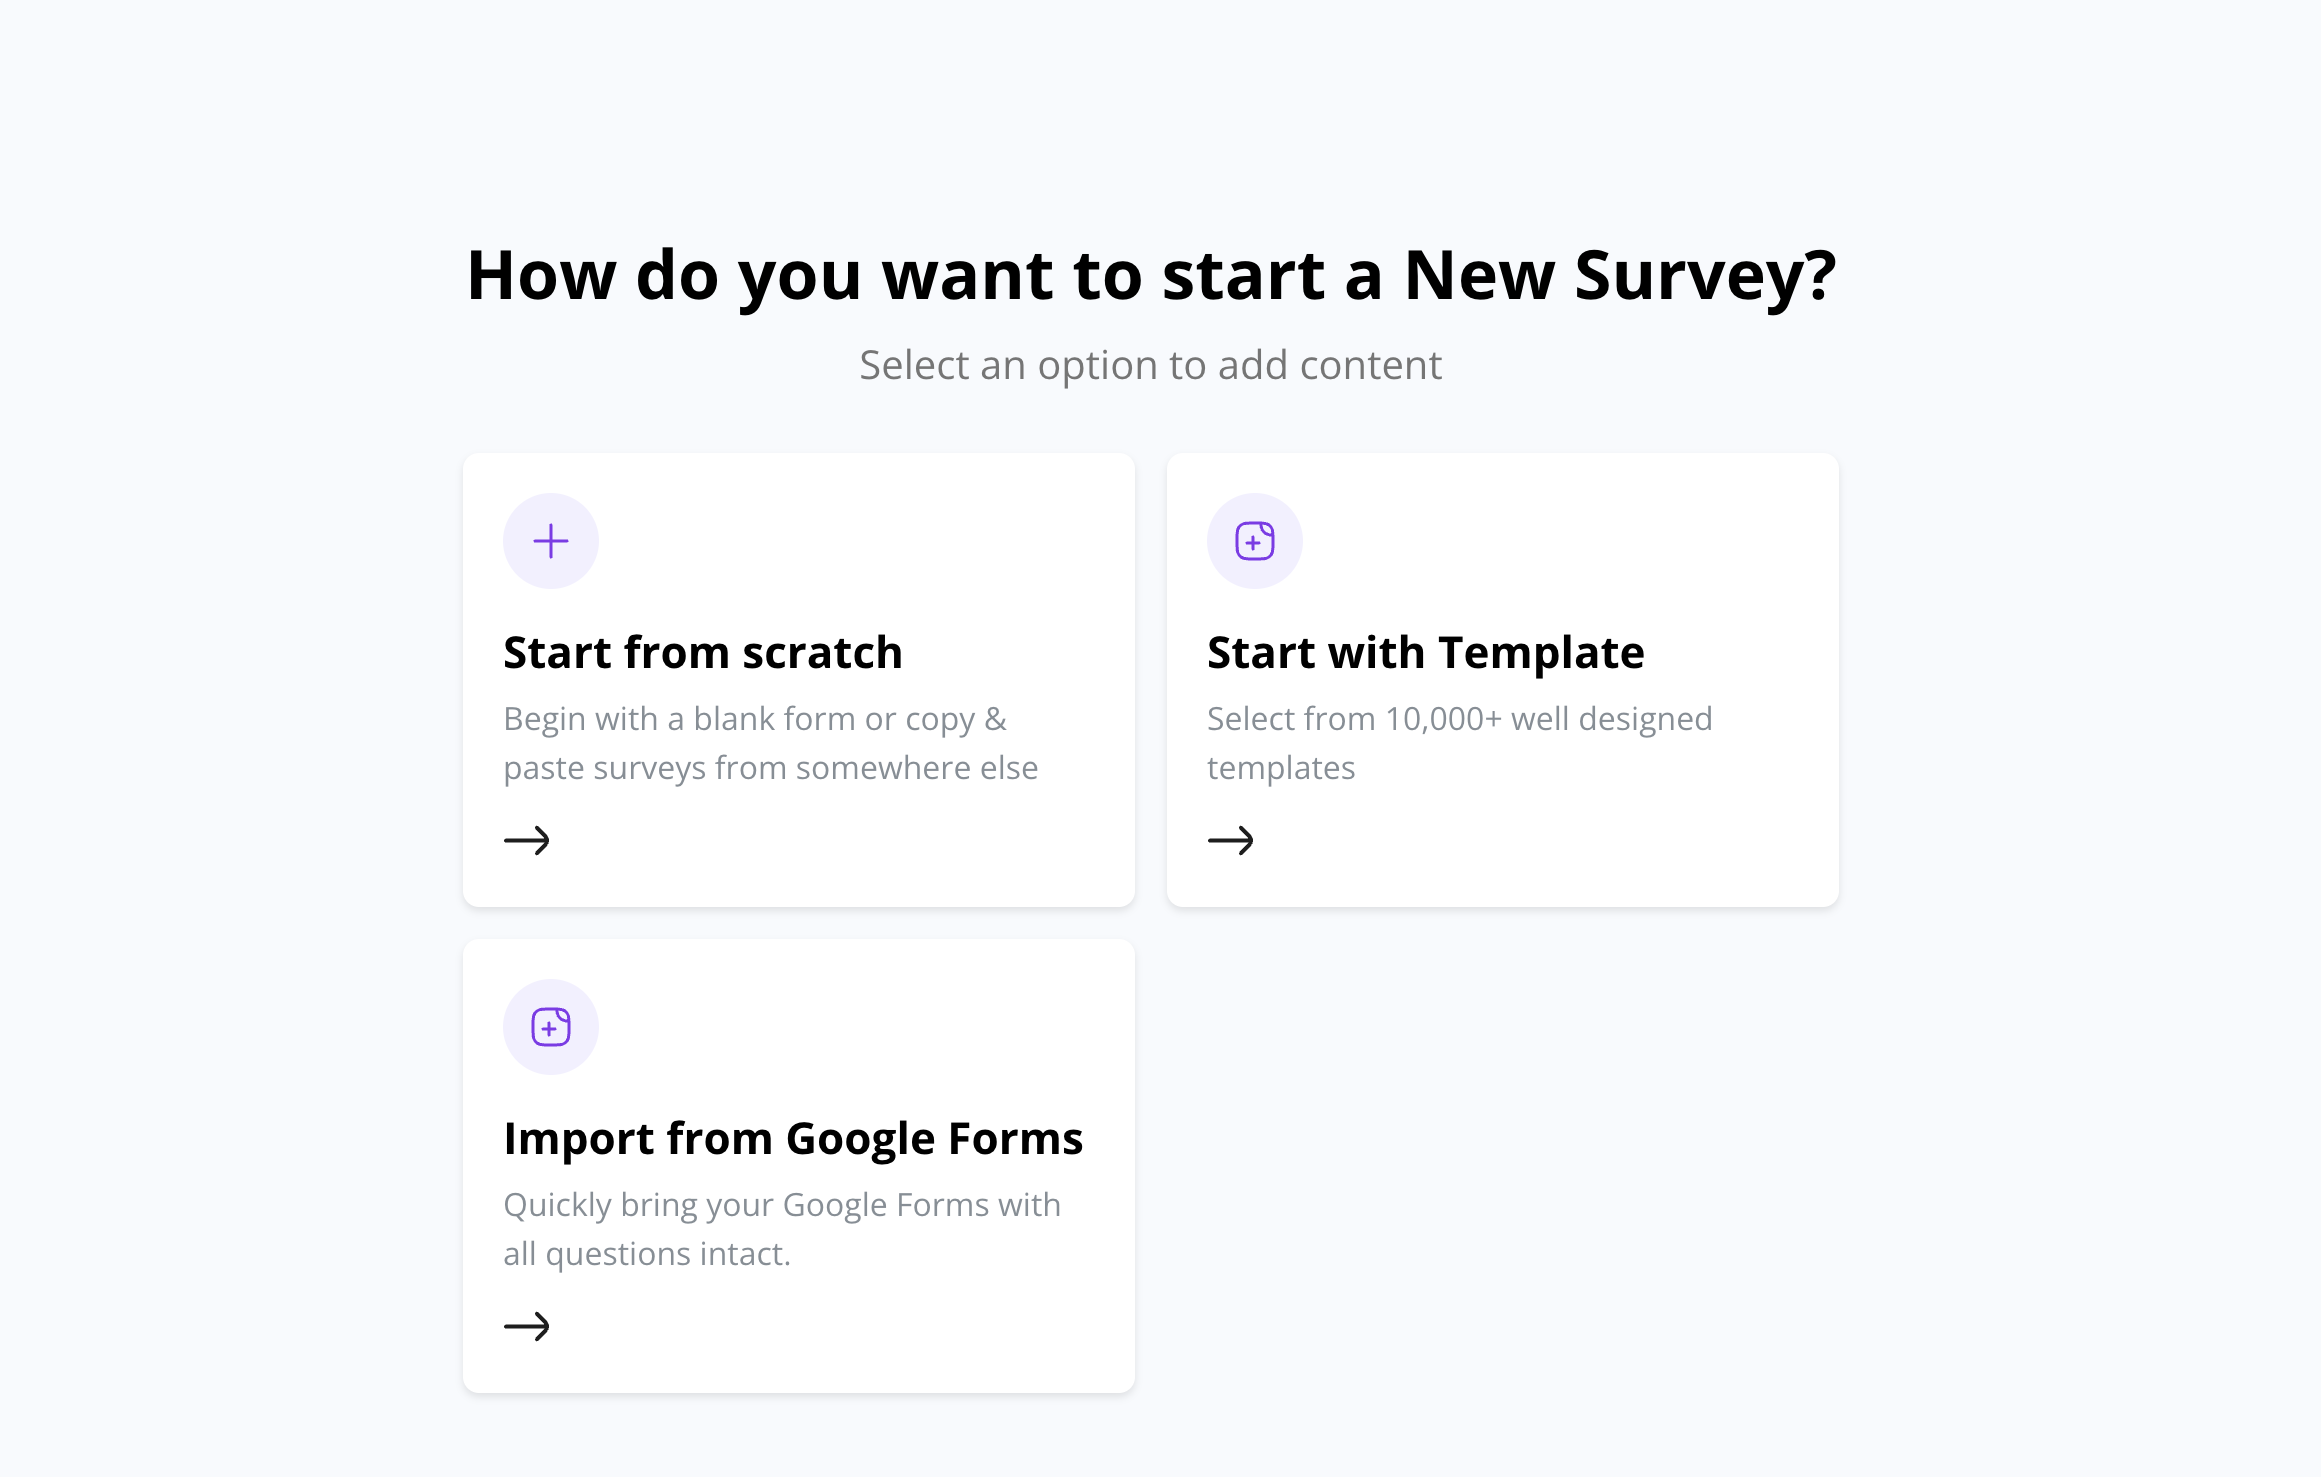
Once inside your project, click Create Survey. You’ll first see a modal asking how you want to start:
- Start from Scratch: Begin with a blank form
- Start with Template: Choose from 100+ expert-designed templates
- Import from Google Forms: Quickly migrate your existing forms
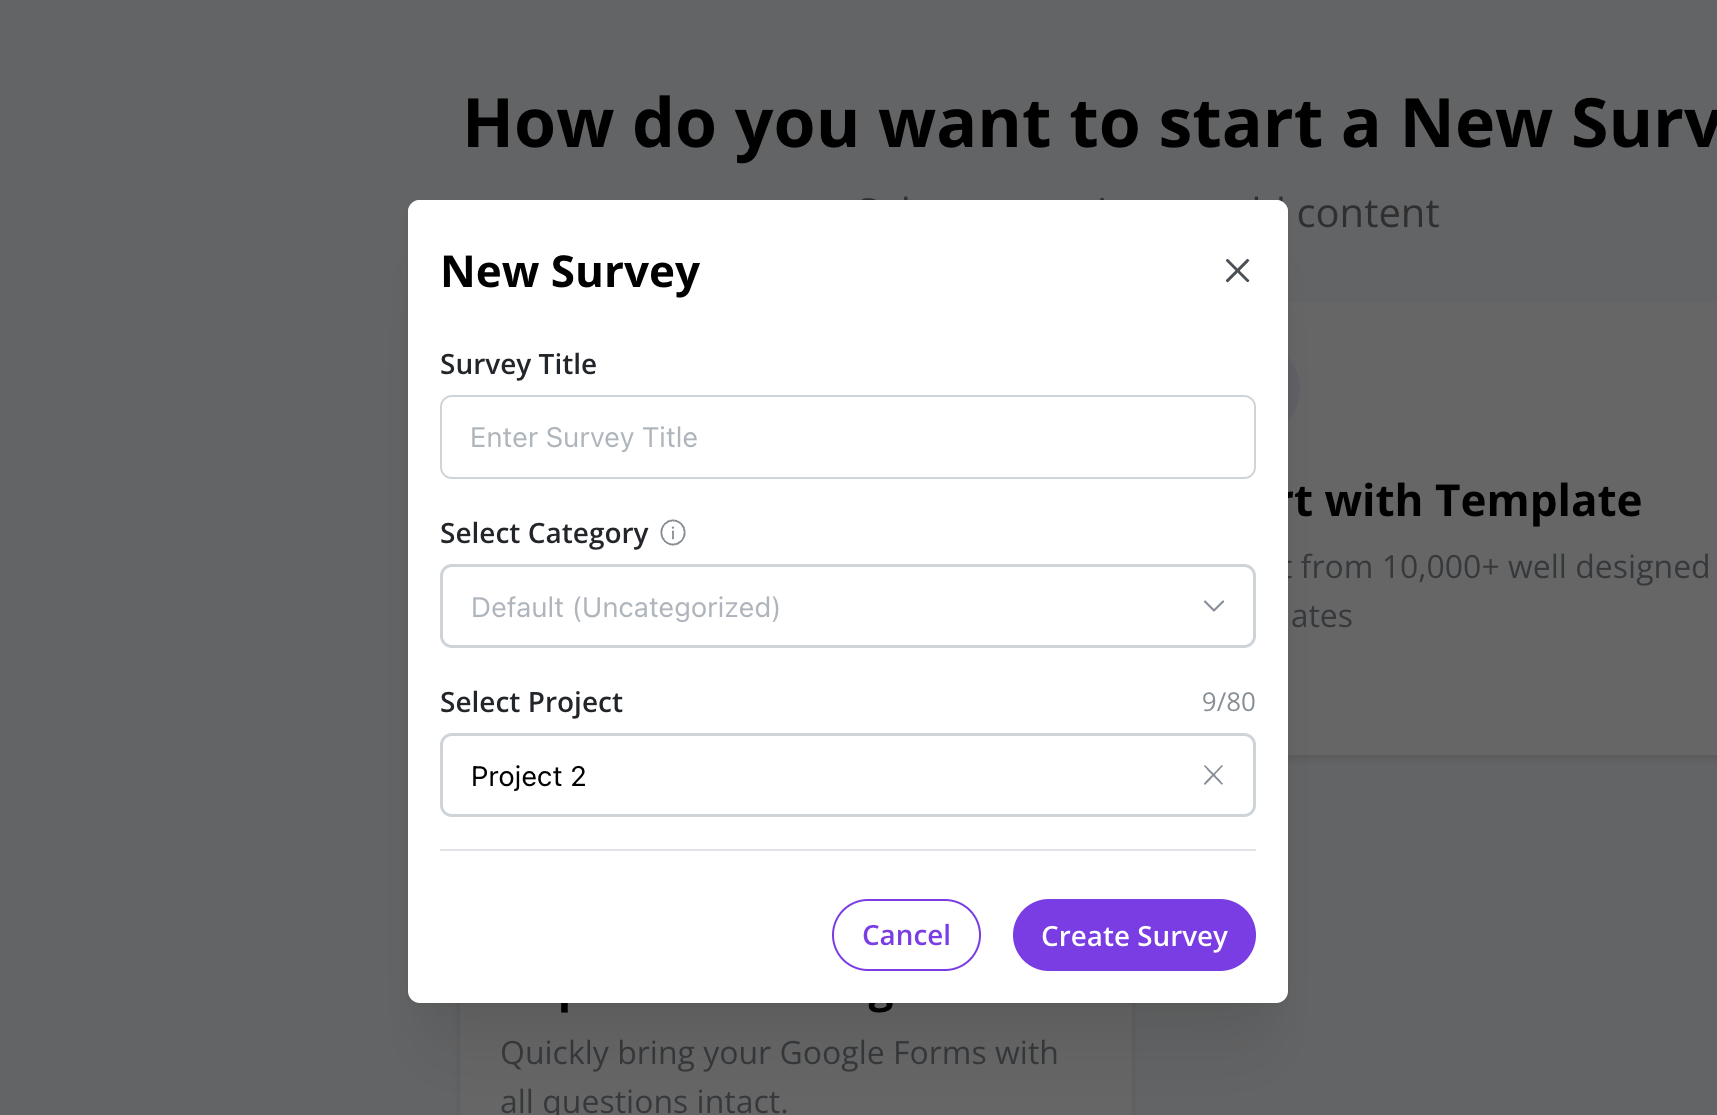
After selecting an option, a New Survey dialog will open. Here you can:
- Enter your Survey Title
- Choose a Category (optional)
- Assign the survey to a Project
Click Create Survey to proceed to the builder.
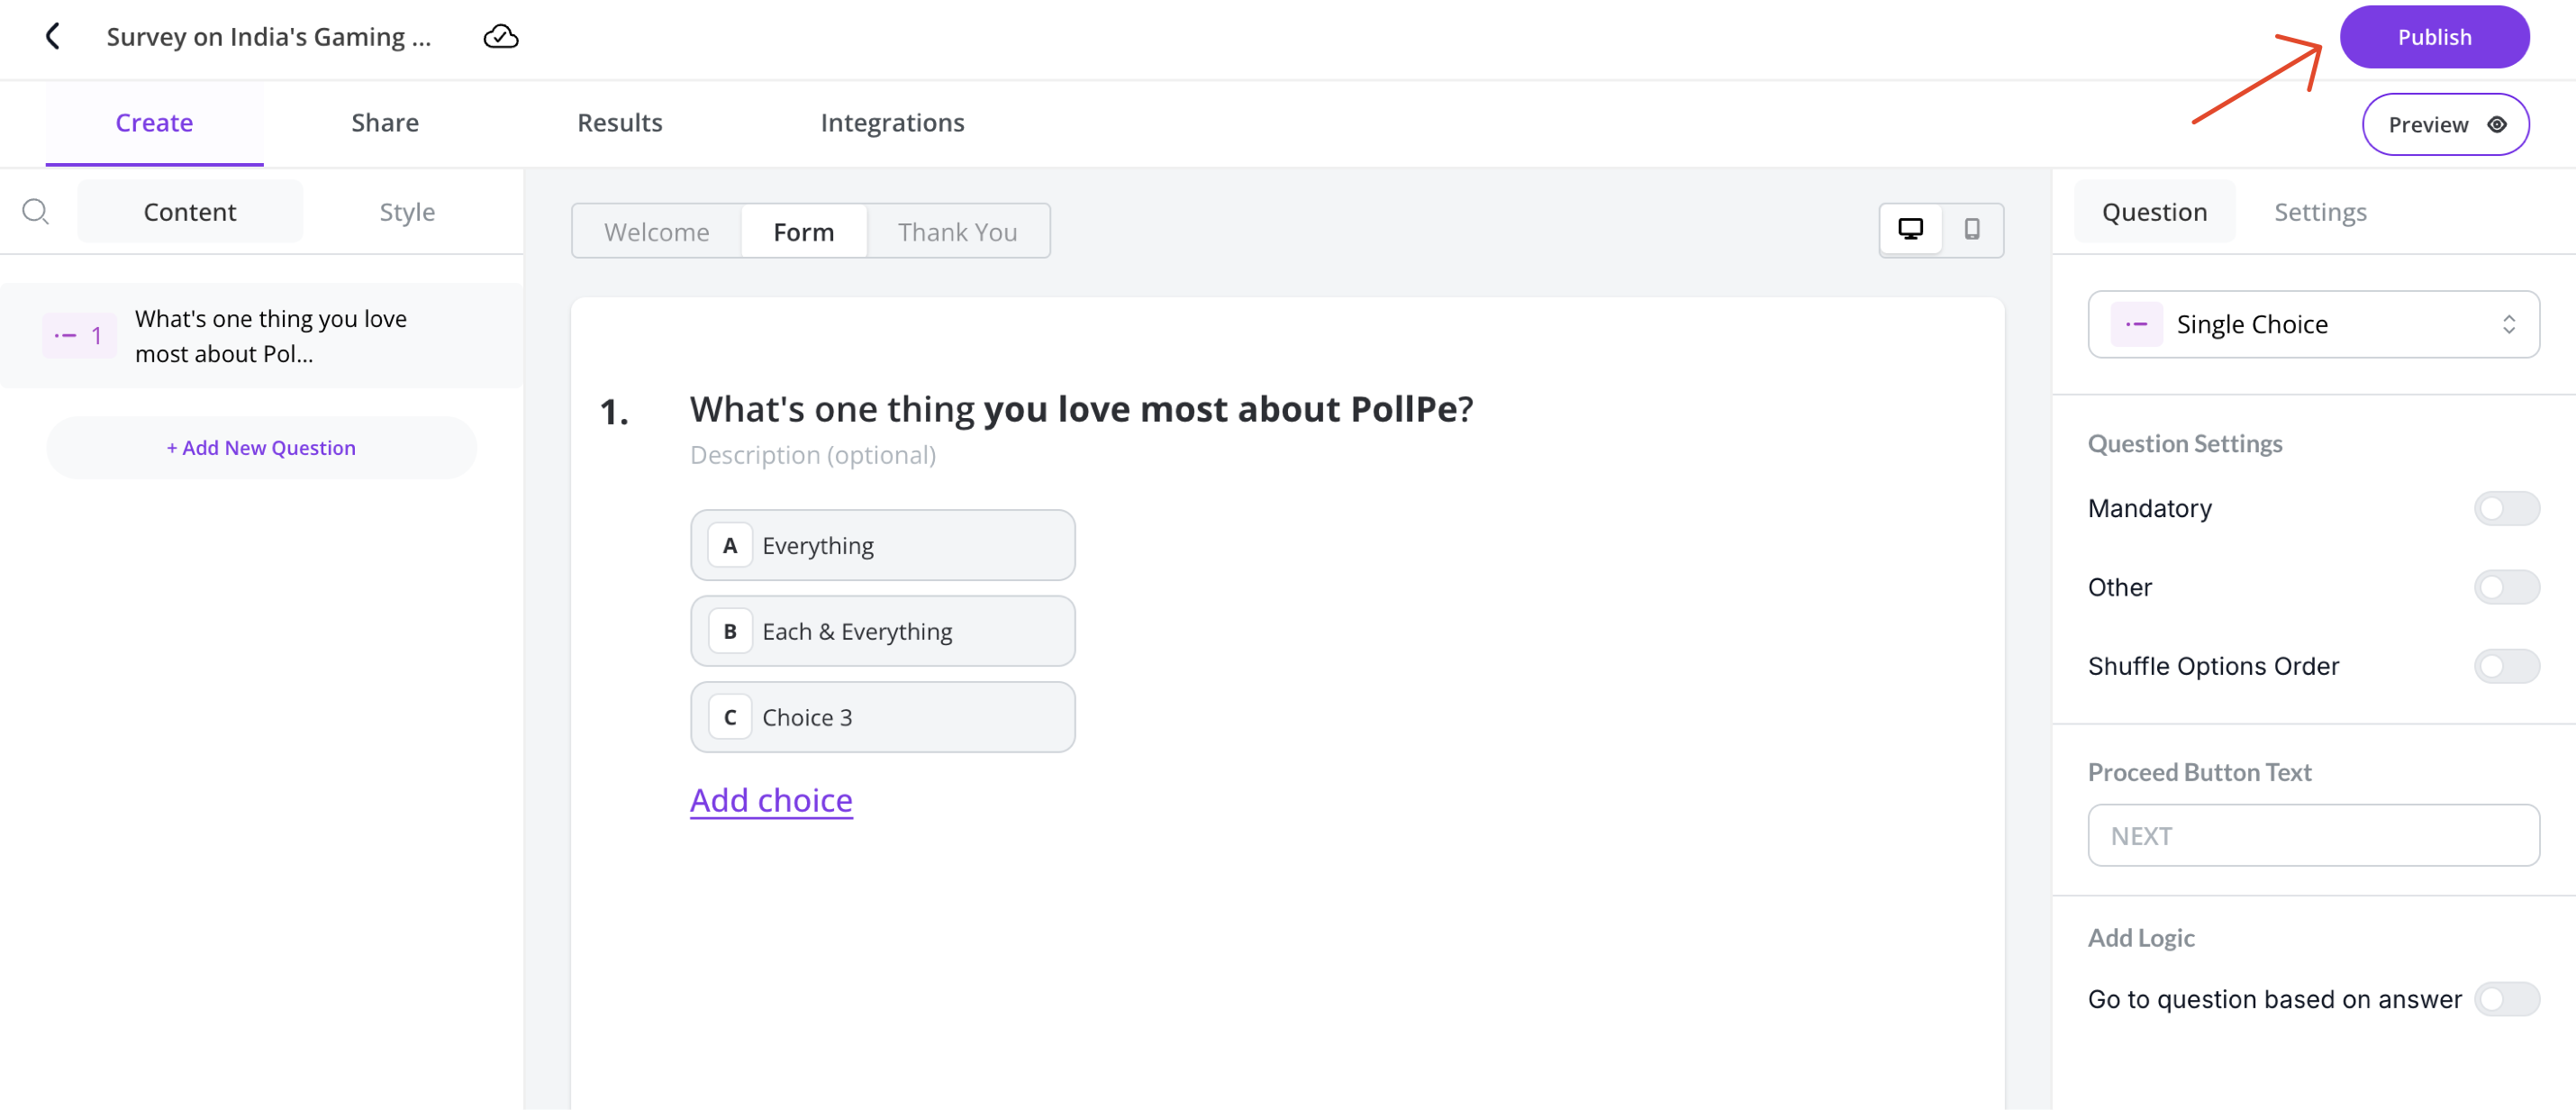
Step 3: Build Using the Survey Builder
PollPe provides an intuitive survey builder that lets you choose from a wide range of question types using a content selector. No coding or complex setup required.
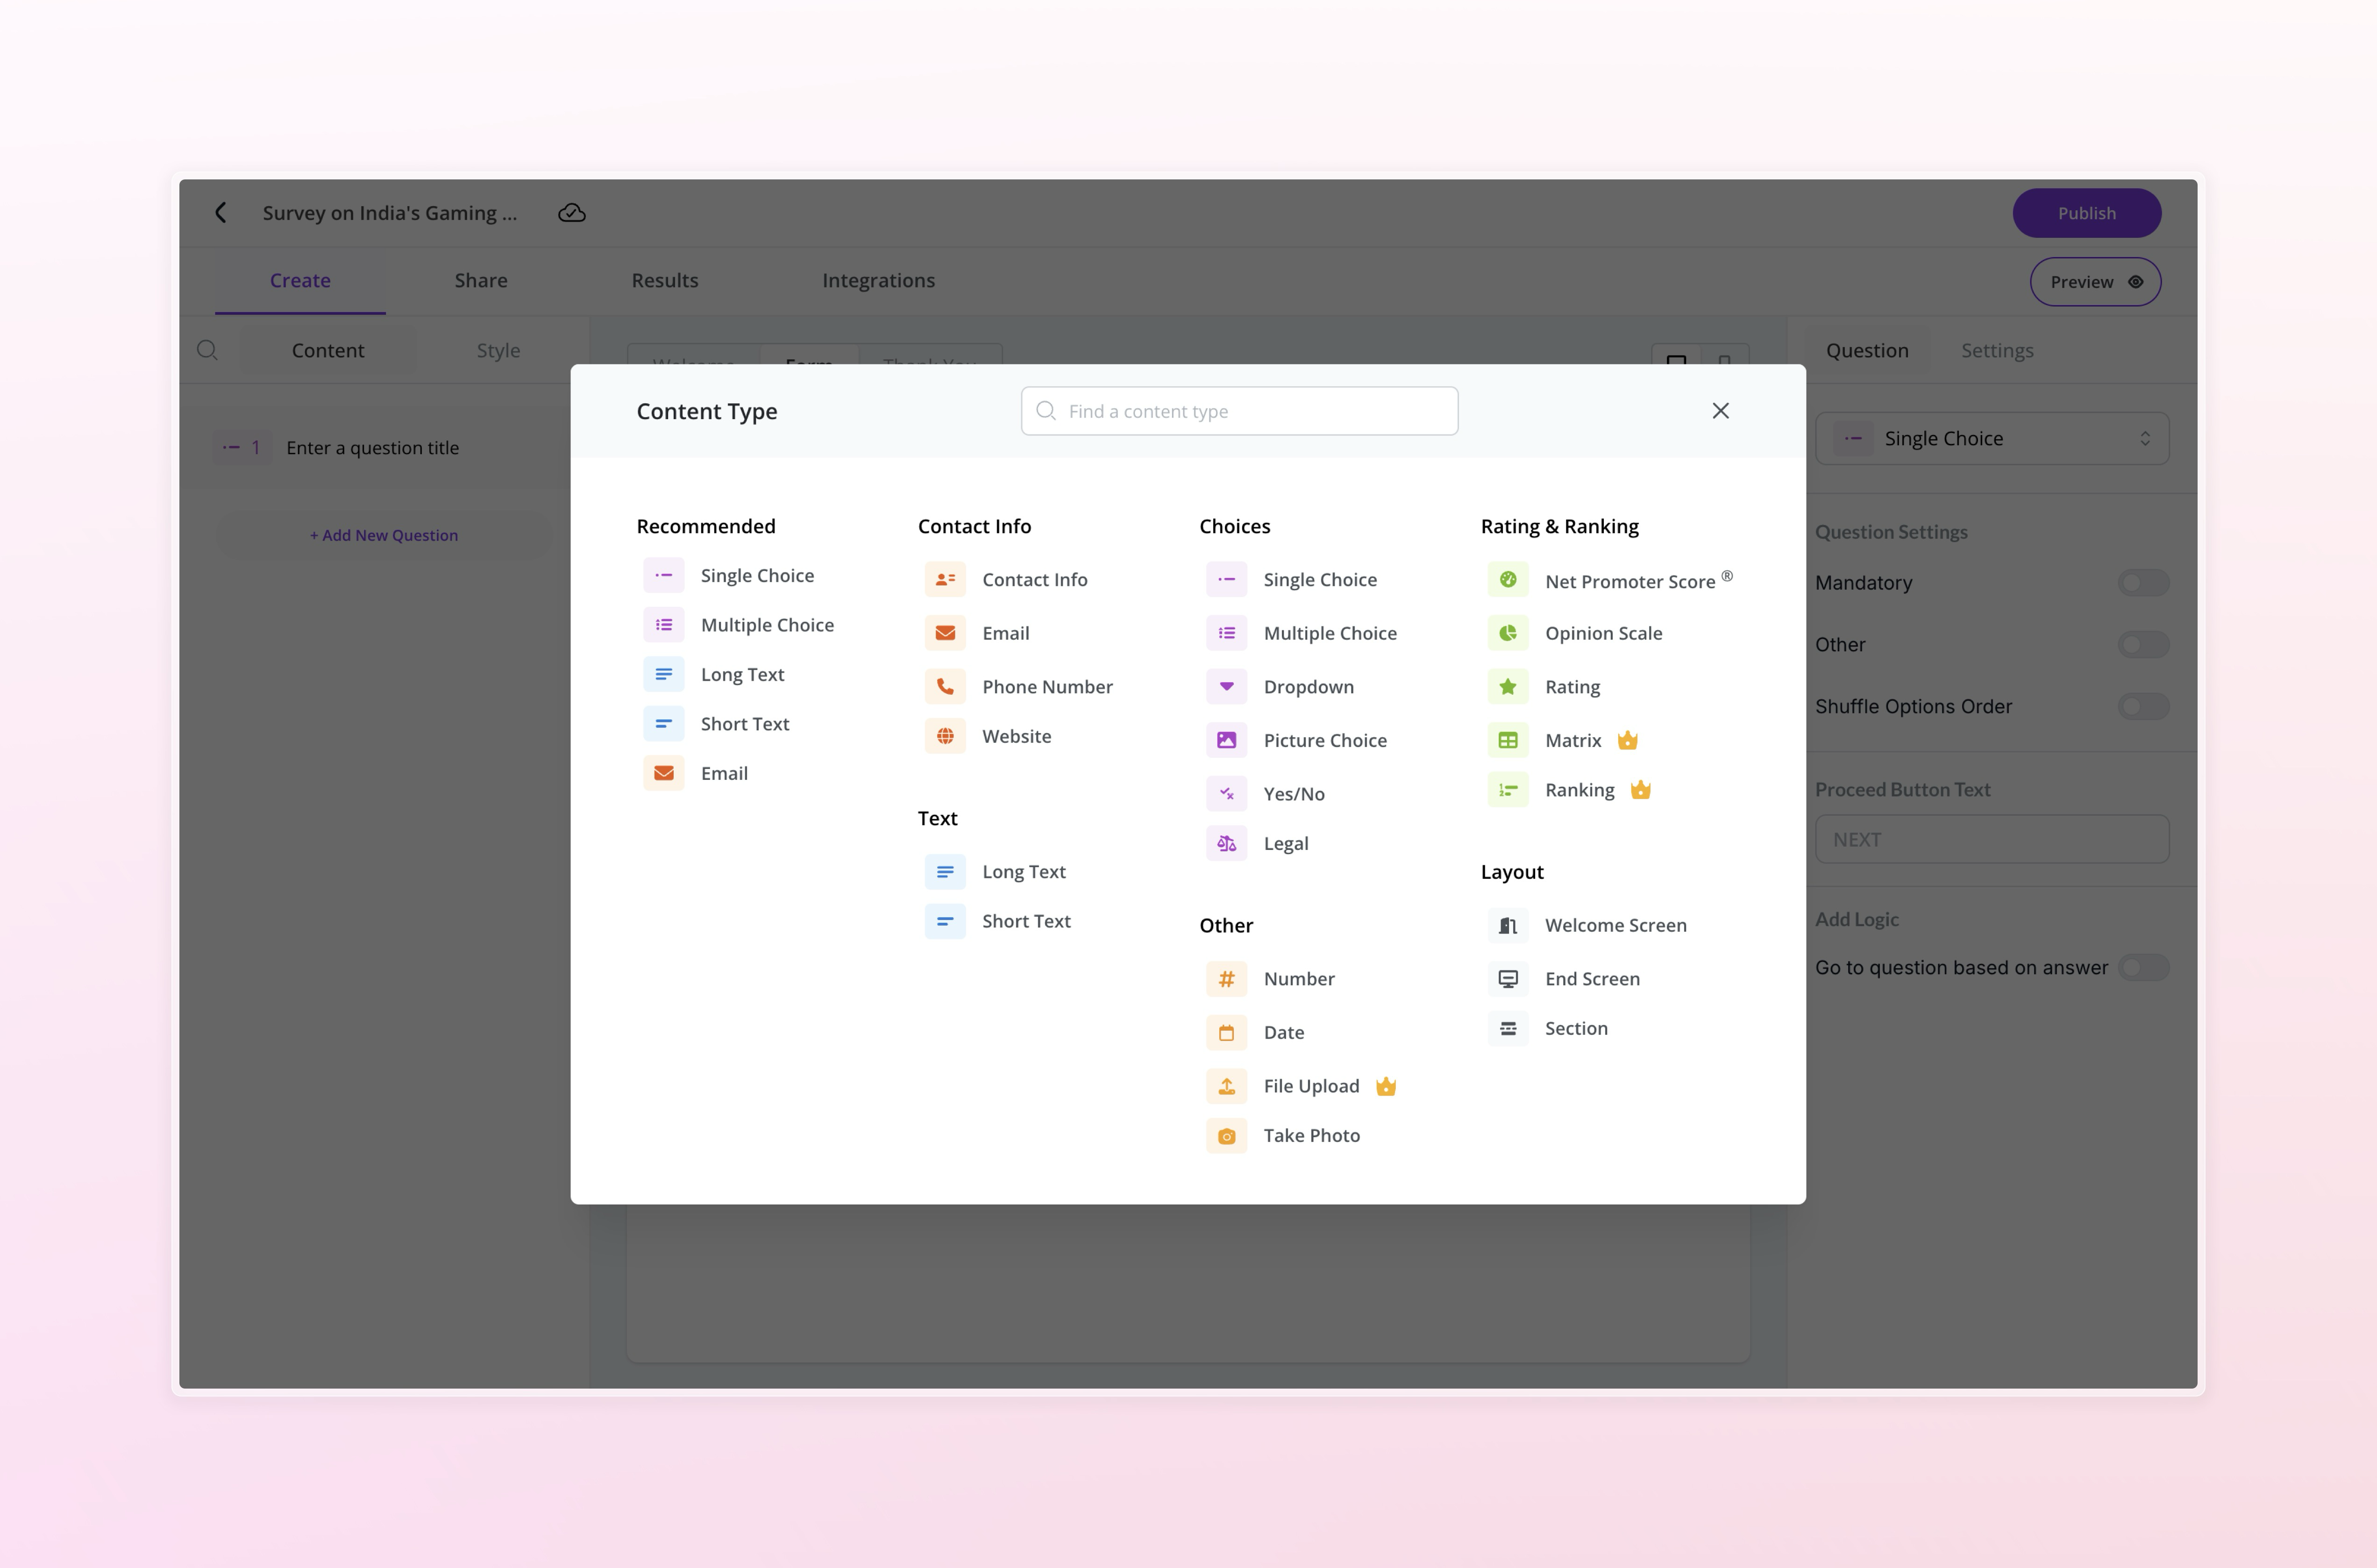
- Add questions like Single Choice, Dropdown, Opinion Scale, Matrix, and more
- Use logic to show or skip questions based on responses
- Structure your form with welcome screens, sections, and end screens
- Enable settings like required questions, shuffle options, or custom labels
Tip: You can also start from a prebuilt template like NPS, CSAT, or employee feedback to move faster.
Step 4: Set Up Rewards (Optional)
You can encourage participation by rewarding respondents:
- Choose from: Coupon code, Cashback, Points, or Custom reward
- Rewards can be automated based on submission
- Configure the reward pool from Settings
Step 5: Preview and Publish
Before publishing:
- Click Preview to test your survey on mobile or desktop
- Make changes if needed
- Click Publish once you’re satisfied
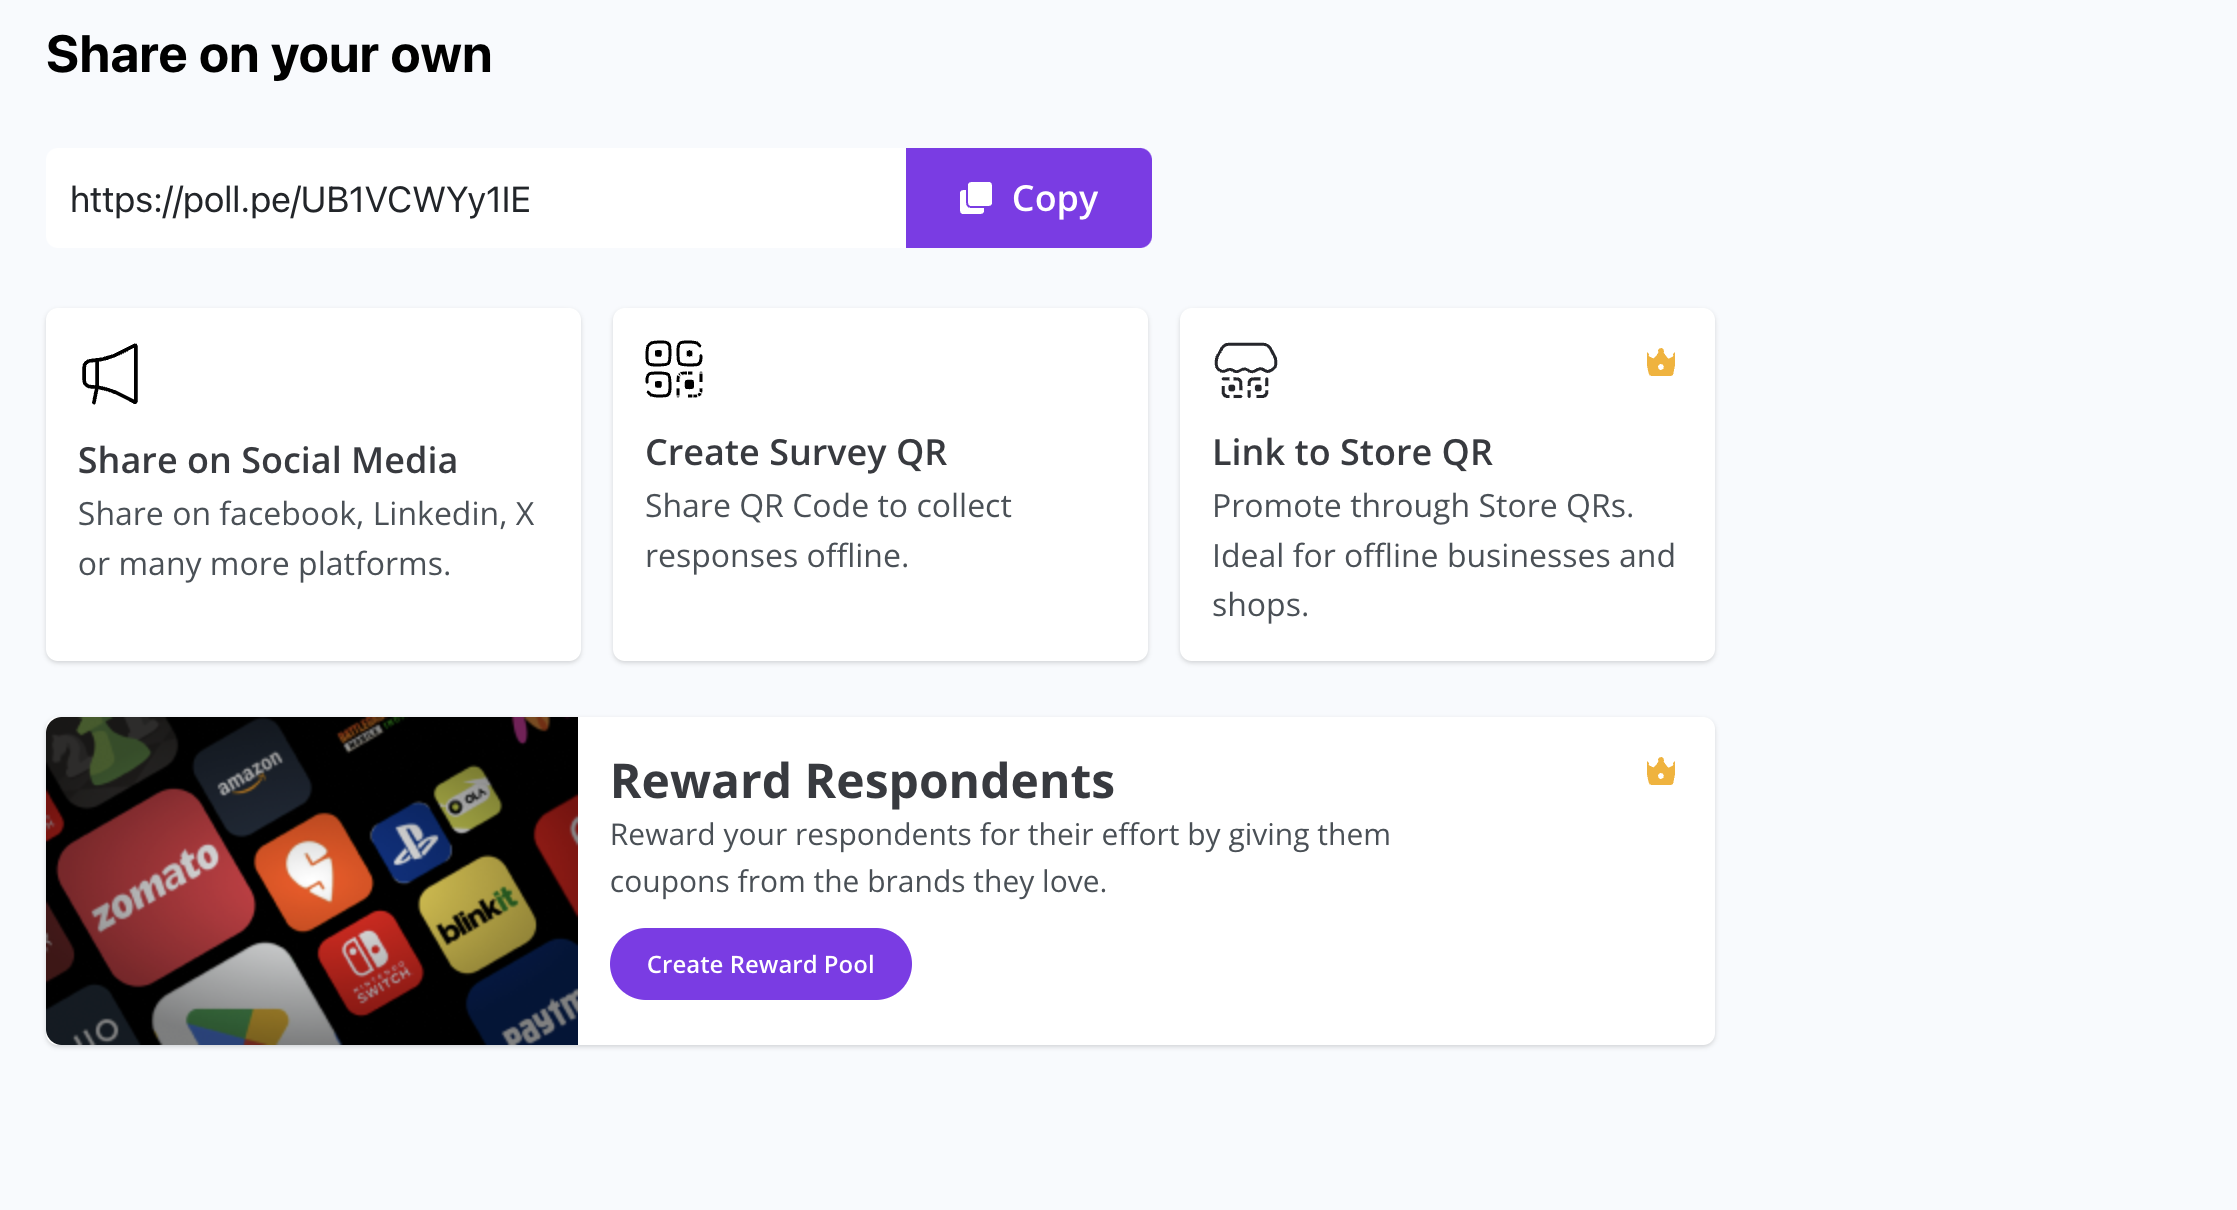
Step 6: Share Your Survey
After publishing, you can distribute your survey via:
- Shareable link
- Store QR
- WhatsApp, SMS, or Email
- Website widget
All responses will now be recorded in real-time and visible in your dashboard.